Do you need iron out wool? Perhaps you have a beloved merino sweater that you want to get some creases out of, or maybe you’ve been gifted a wooly blanket and it’s gotten creased from being folded up.
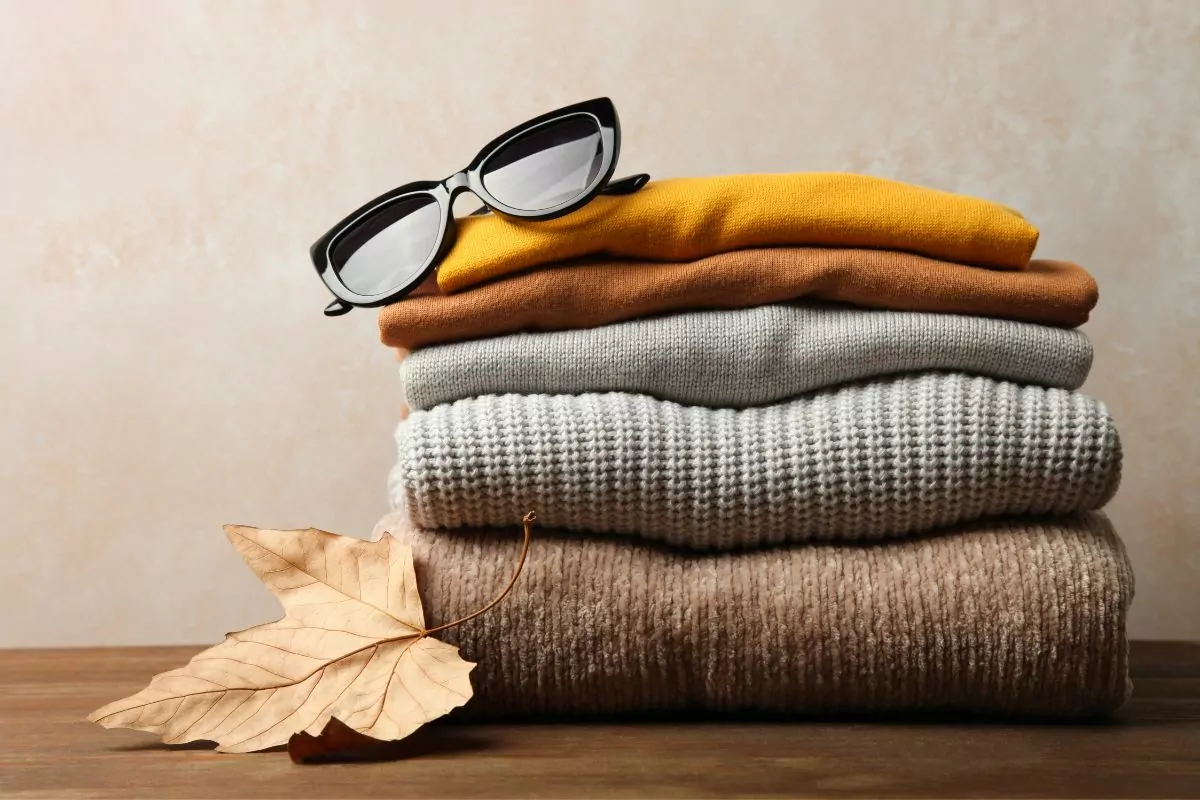
Whatever wool item you have, we’re sure that you’ll agree with us when we say that, when it comes to wool, creases in the surface of wool can certainly reduce the overall appearance of the garment (Also check out Tips On How To Make Wool Less Itchy).
Luckily, there’s a few ways you can get them out.
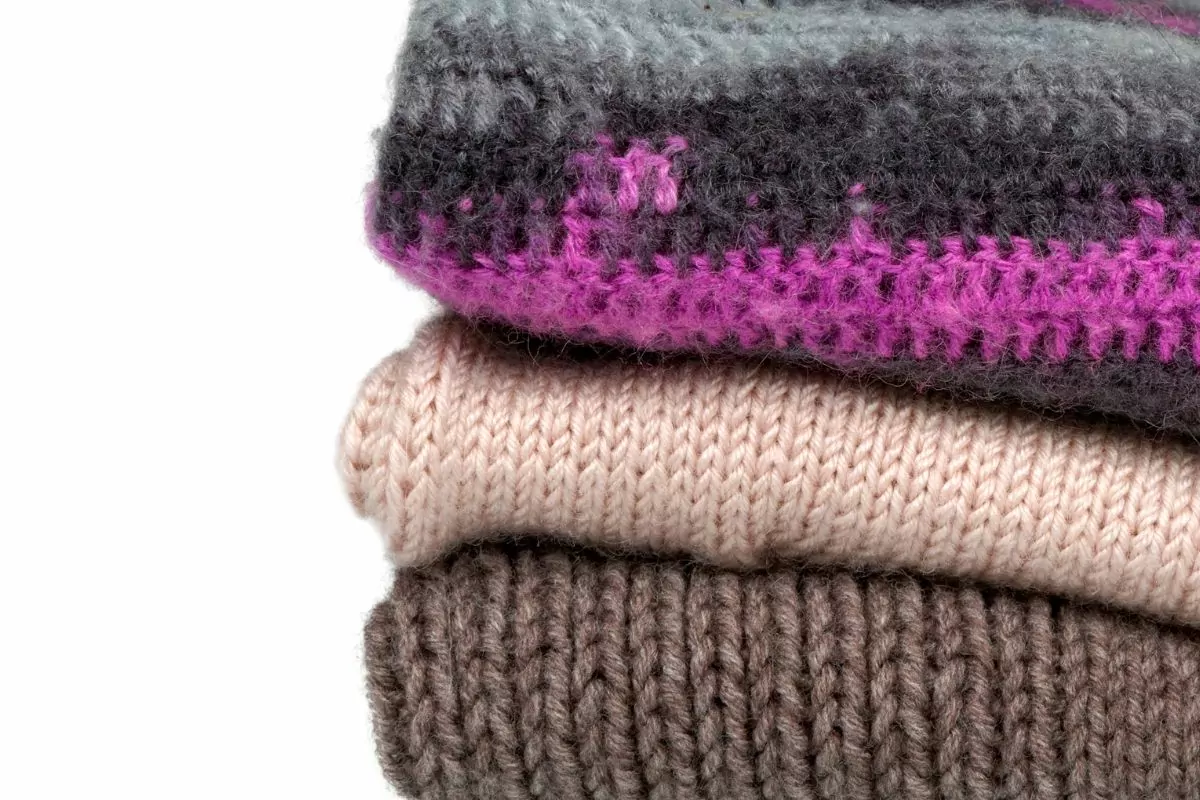
Generally speaking, heavy wool types (such as wooly knit sweaters) tend to be able to withstand creasing while being washed or worn.
However, if you’ve got a wooly garment or item that you’d like to iron out and restore to its original glory – we’ve got you covered.
In this guide, you will find simple to follow instructions on how to effectively iron wool. Read on!
How To Iron Wool In Five Simple Steps
Below, find all of the instructions on how to iron out wool:
- First things first, you are going to want to begin by first setting the iron that you are going to be using to the “Wool” setting. If this setting is not available, then you can simply opt to use either the “Medium” setting, or the “2-dot” setting.
- After you have set the temperature setting on your iron, you will then be ready to prepare the wool garment or item that you would like to iron. To do this, simply take the garment (or item) and lay it out on a flat surface that will be able to withstand the heat of ironing.
- Before you begin ironing out the wool, you should first take a moment to spray water across the surface of the wool in order to prevent any sticking. Usually, irons will contain a water spray feature that you will be able to use.
- After you have sprayed water across the surface of the wool, we then recommend that you take a clean, thin cloth and lay it on top of the wool surface, as this will help to protect it from getting scorched while you are ironing it.
- Once you have done all of this, you will then be ready to begin ironing out the wool. Iron in slow, sweeping motions to ensure that all of the creases are removed. If your iron features a steam feature, we highly recommend that you utilize it while you are ironing the wool, as this will help to make the removal of the creases easier.
- After you have finished ironing your wool, we then recommend that you allow the wool to lay flat for around 5 minutes, as this will help to prevent any further creasing that might occur directly after ironing while the wool’s fabric is malleable from the heat of the iron.
Top Tip: Even if your iron does not offer a “Wool” setting, it is very important that you do not set the temperature setting on your iron too high, as this could lead to the wool getting scorched by the iron beyond repair.
Common Mistakes To Avoid When Ironing Wool
Now that you have talked you through how to iron wool – we are now going to be sharing with you some of the most common mistakes that people make when ironing wool.
Let’s take a look at them below:
Don’t Apply Heavy Pressure
One of the biggest mistakes that many people make when it comes to ironing their woolen garment or items is to apply far too much pressure.
This is something that you want to avoid, as it can often lead to the wool sticking to the surface of the iron face.
In some cases, it can also cause the surface of the wool to become shiny in appearance, which is an alteration you don’t want.
Prevent Scorching By Using A Cloth
Another common mistake that many people make when ironing wool is to leave the iron face on the surface of the wool for too long and not using a cloth to offer protection to the surface of the wool.
In turn, this can lead to the wool becoming scorched, which will ultimately leave the wool damaged beyond repair.
For this reason, we highly recommend that you consider placing a clean cloth in between the surface of the wool that you want to iron, as well as the iron face itself.
By doing so, you will be able to provide your wool garment with a level of protection that will help to prevent scorching, while still allowing the iron to get rid of the creases in the wool.
Along with making sure that you are placing a clean cloth in-between the woolen garment or item that you are using with the iron face, it is also just as important to make sure that you are avoiding leaving the iron to stay in contact with the wool for too long, as this can also lead to scorching.
Avoid Spray On Starch!
Last but certainly not least, the final mistake that many people commonly make is using spray on starch.
It’s extremely important that you avoid using spray on starch to iron your wool because it can lead to deposits being left on the surface of wool that can be hard to get off due to the fibers.
The Bottom Line
Now that you have reached the end of this guide, we hope that we have been able to give you a clearer understanding of how to go about correctly ironing wool garments.
Even though wool is a little harder to iron than other fabrics, by following these tips and tricks we have shared with you above, you should be able to perfectly iron out your woolen garments in no time at all.
Thank you for reading, and bye for now.
My whole life, I have always been a little bigger than my friends. I was always a bit taller, wider and just bigger built. From my late teens, I would say that I was curvy. I really struggled to find clothes that fitted me, as my hips went out, but my chest didn’t really.
I created WarningCurvesAhead.com because I wanted other women to feel the sense of empowerment I have felt since changing up my wardrobe and finding out what clothes suit my body shape, skin tone and style.
I hope that you too can join me on this journey, and start making some amazing fashion choices that celebrate your beautiful body- instead of hiding it!
- What Is A Figure 8 Body Shape? - June 7, 2023
- How To Dress For Your Body Shape When You’re Plus Size - June 7, 2023
- What Not To Wear With Leggings - June 7, 2023